Potted gold

I’m not one to pick dandelions without good cause; they’re such an amazing plant for so many insects and birds. But I do like a few young leaves in a salad and will dig up roots to make a mineral-rich, caffeine-free coffee. Until now though I’d never tried to make anything edible from the flowers (natural play dough doesn’t count as who wants to eat that?!).

This year the garden is simply teaming with dandelion flowers and there’s plenty to go round for everyone. And when a colleague said she was making dandelion ‘honey’ I was intrigued. “It’s even vegan”, she volunteered, “well, apart from the bugs!”. I’m not a vegan, so I wasn’t worried about a little extra protein and thought I’d give it a try.

One recipe needed 350g of flowerheads. That’s a lot of flowers, especially if you follow the instructions and pull off all the green bits as they can make it too bitter. I started with good intentions and began picking them all off and then realised, even in a national lockdown, that life is simply too short for that.

So, I compromised and took some off and picked half the recipe’s worth, which still took a while. But there’s much worse ways to spend a sunny Spring day than wandering around the garden picking dandelion flowers.

I made mine by adding half a lemon (thinly sliced) and 0.5l of water to the flowers and simmering them gently for about 20 minutes. Leave the mixture in a glass bowl overnight.

In the morning I strained off the liquid through a sieve and put the mush in the compost. Then I added 300g of granulated sugar (it’s supposed to be golden, but getting any sugar at all is a minor achievement at the moment, so I made do with what I had). That’s also a quarter less sugar than most recipes, but it was fine.

Stir the sugar until it dissolves and then simmer for about 45 minutes until it becomes like a thin syrup. Don’t, whatever you do, think that it’s simmering away quite happily and go off to feed the chickens, only to come back to find it’s boiled over and burnt sugar is now ingrained in your hob.

If you haven’t left it to boil over, then you should have enough for two small jars of ‘honey’, which isn’t as good as the real thing, but is surprisingly tasty and a fun way to spend a few hours.

Sprinkling a little magic dust

DSC_1018.JPG
I’ve thought about building a fairy garden for my daughter (and me, if I’m being entirely honest!) for a few years now.

But I’ve been put off by the elaborate, fancy, expensive ones that adorn Pinterest, Instagram and the like.


However, I soon realised it doesn’t have to cost the earth or involve lots of new stuff. The most expensive addition to our fairy garden was three alpine plants, compost and some pea gravel.

It’s amazing how many fairy-garden-ready items you can find kicking around your shed/house/garden, neglected for ages and needing a new purpose in life. Charity/thrift shops are also treasure troves for little bits and pieces.

For the container, I recycled an old Belfast sink which had seen better days and added a log that didn’t quite fit in our fireplace last winter.

DSC_1006.JPG

Tiny sawn pieces of branches made an ideal table and chairs and I used old glass beads for the pond/paths.

DSC_1016.JPG

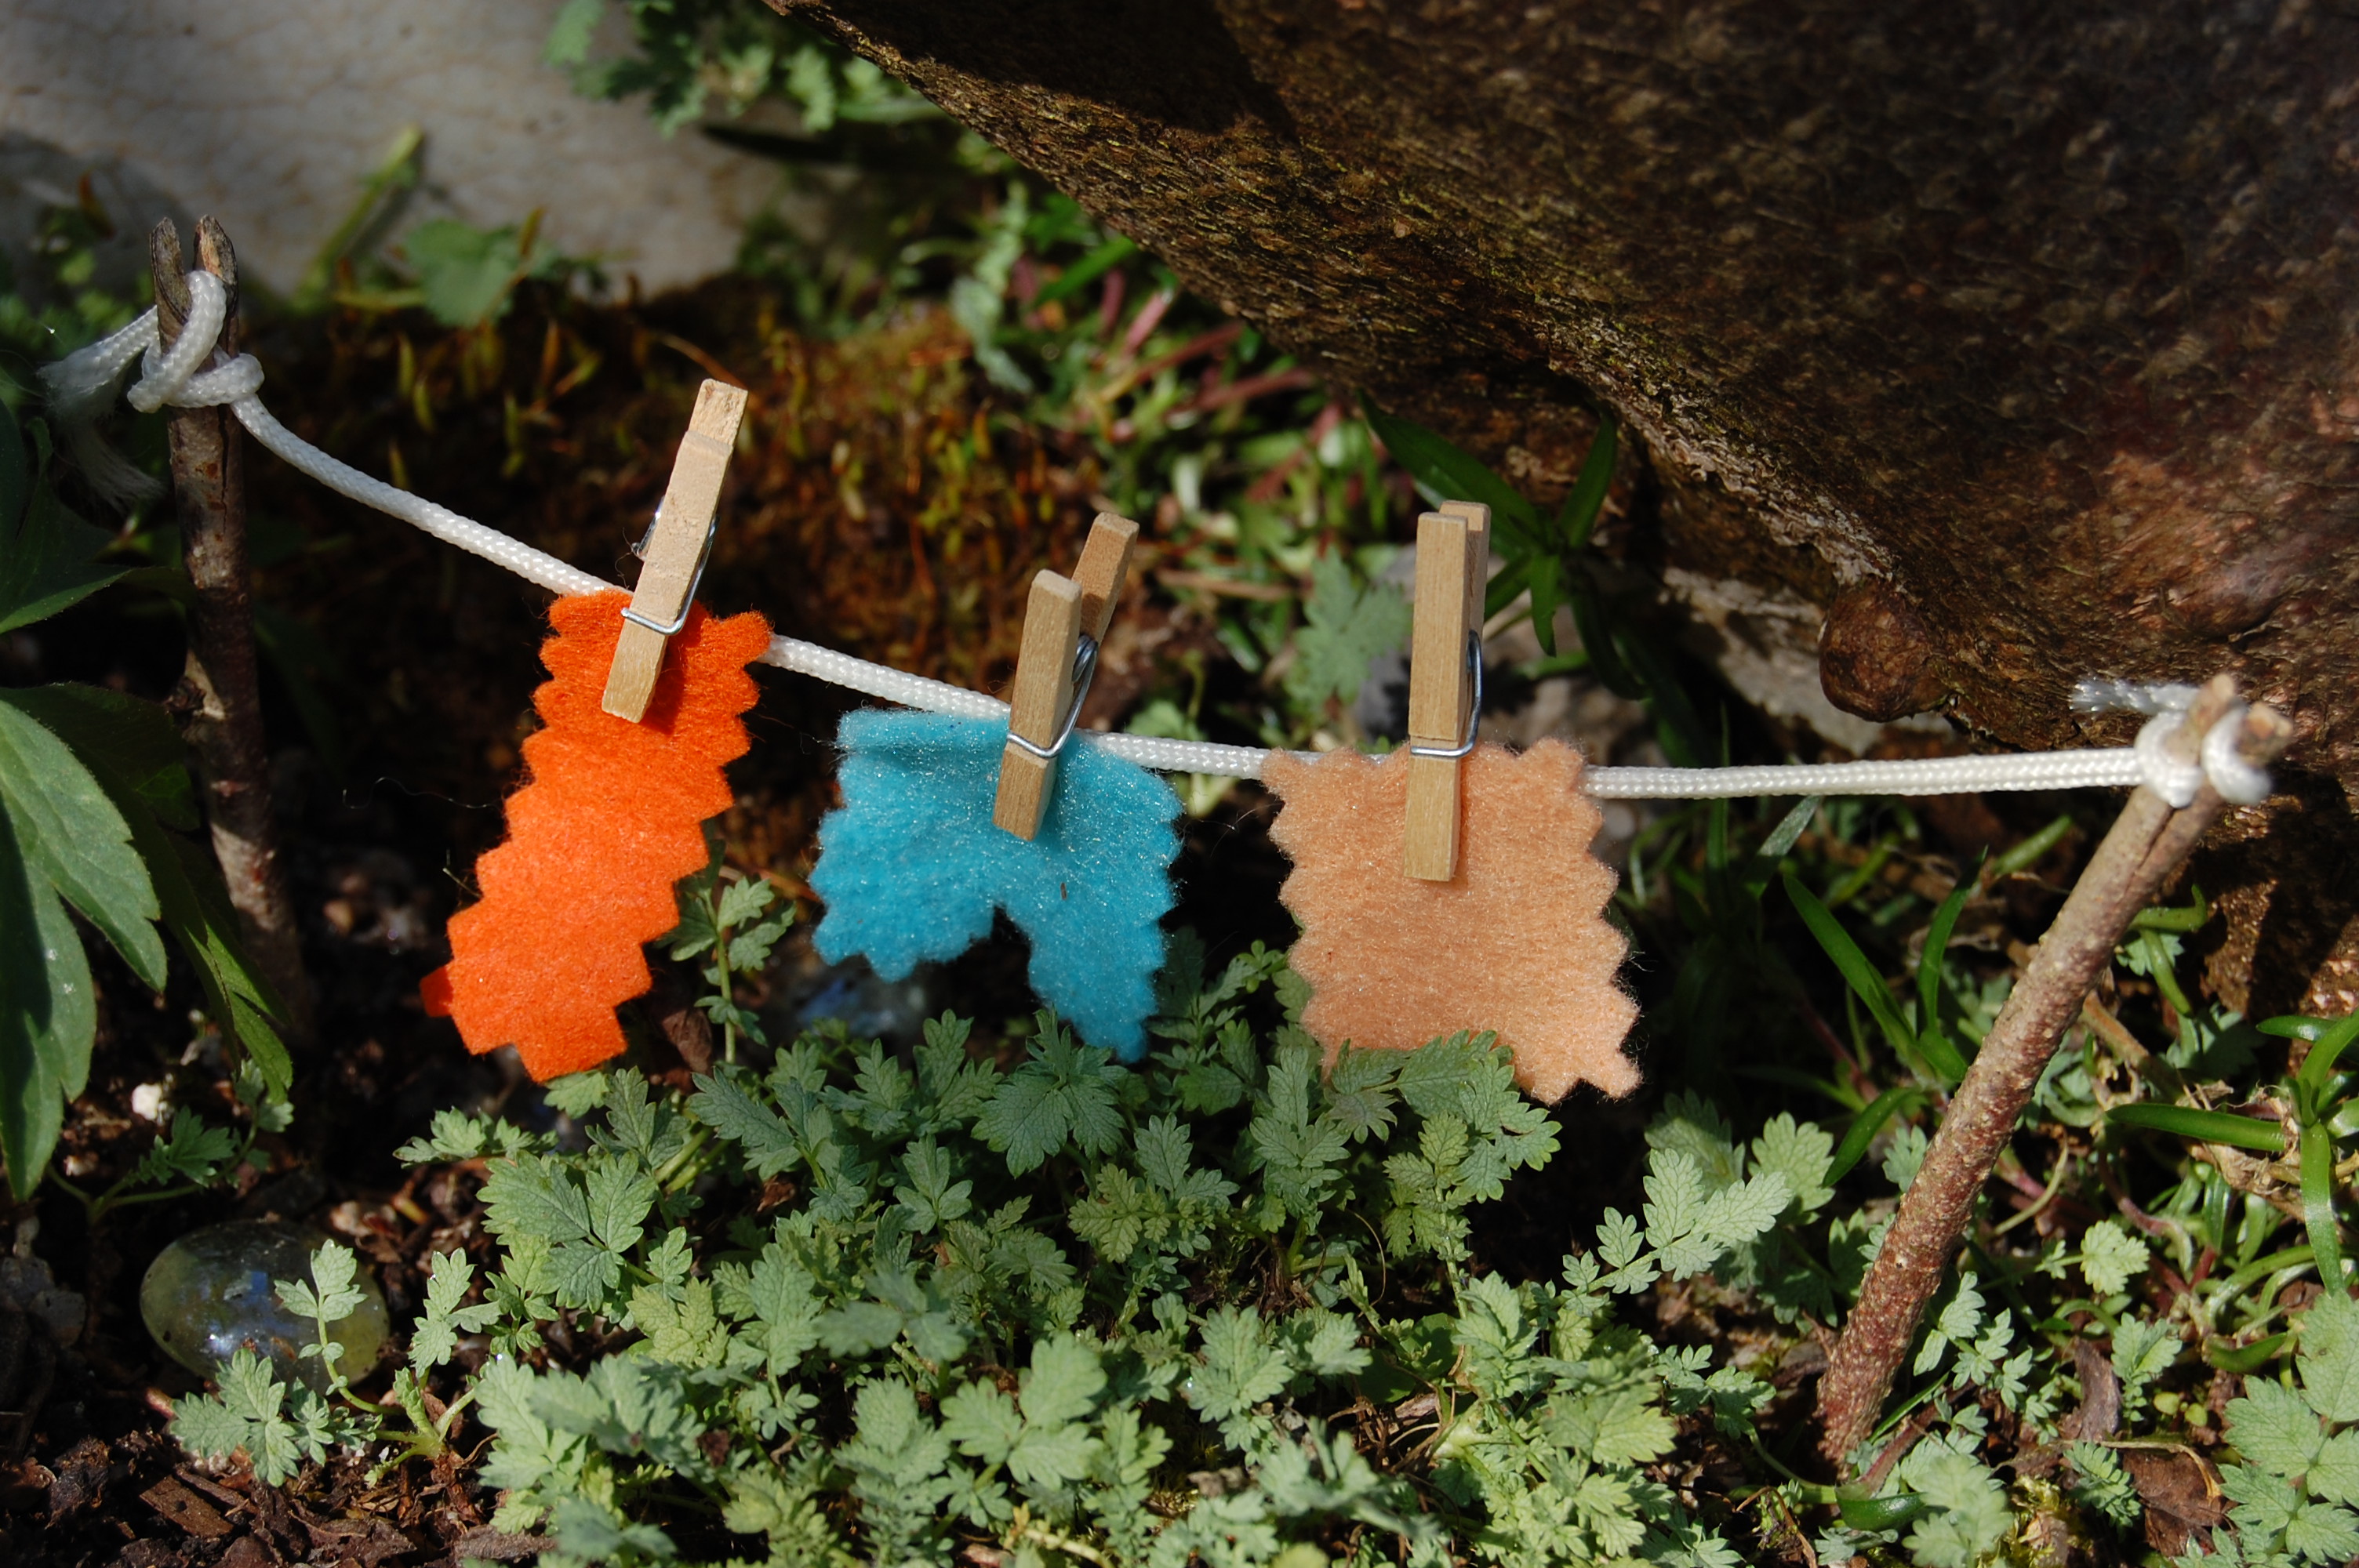
Even fairies have to do washing occasionally so I took two twigs and a piece of twine and cut up some odd scraps of material with pinking shears for the washing. It’s held on with mini pegs, the kind you get in most craft shops.

DSC_1008.JPG

I did concede to a small person’s requests for a few new items, namely this cute ceramic cat, which fits perfectly into his shell bed we dug up. The fairy door was also bought for this project.

DSC_1019.JPG

Knots and holes in the log were chiselled out to insert windows.

DSC_1013.JPG

Not sure the whale is a native to the garden pond, but he moved in all the same.

DSC_1015.JPG

This is the garden’s first Spring as it was built last autumn. Other than having to replace the washing line and take out a few random weeds, it hasn’t needed any maintenance. Unlike a made-to-measure shop bought one, this approach takes a little while longer to ‘bed in’, but I think it’s all the better for it.

You can make the basic garden in a few hours and just add to it as and when you like. Just make sure if you’re using a heavy container like an old sink that it’s in situ before you start! The mix was about a third grit to two-thirds compost as I didn’t want it too rich for the alpines.

It’s also important to make sure you have adequate drainage so the plants don’t rot. As well as a gritty mix of soil, I added small stones along the bottom of the sink and made sure the plug hole was clear.

When choosing plants, alpines are ideal as they don’t take much looking after and are fairly small and compact so work to scale in a garden this size.

The whole garden, including compost, grit, plants and the fairy door and cat, came to just over £10. All the other items were recycled.

It really is very simple and cheap to make and will reward you with hours of play: the only limit is your imagination! Hope you’ve been inspired to sprinkle a little magic fairy dust in your garden soon.

Treat yourself to an edible tent

teepee1
When I think back to my childhood, one of the most vivid memories is of the camps I made in the woods. The favoured spot was a tiny patch of trees in the local cricket club, where we’d amuse ourselves for hours as my Dad sweated it out on the pitch; we were oblivious to the game, only aware that when it was all over we’d get a soft drink and a packet of crisps as a treat.

They weren’t grand camps by any means, constructed mainly of sticks, leaves and grass cuttings kindly left in helpful piles nearby by the groundsman. But they were such grand palaces in my imagination, complete with several ‘rooms’ and all mod cons.

My daughter loves making tents and camps indoors but now the weather is warming up a little (well at least it was, briefly), I thought we’d take our camping adventures outside for a change.

You may be thinking ‘what’s this got to do with gardening?’ and you’re about to be rewarded for your patience hanging in there. With a few sturdy sticks or poles, some string and about 15 minutes to spare, you can make your own teepee suitable for a toddler in the back garden.

I used hazel cuttings for ours, as we had a tree that needed a prune so it was going spare. You can use most tree cuttings, but best to avoid willow as it will readily root in the ground. If you don’t have handy trees to prune, just use bamboo canes from a garden centre. It won’t look as rustic, and it will cost you a little more, but it will still work out just fine.

Mark out where you want your teepee to sit, making sure to leave enough room for a doorway. There’s no set number of poles you need, but I’d recommend using at least five to get a decent teepee-like shape. Simply push them firmly into the ground and then pull together to tie with string at the top, leaving the wispy bits sticking up if you have them.

This will eventually be an edible teepee, so make several horizontal lines around it (again, leaving room for the doorway) with string to provide support for the climbing plants. There are plenty of options for climbing beans, peas etc. and you can add some nasturtiums (edible flowers and the seeds can also be used as capers) as well for extra colour.

It’s a bit early to risk putting beans out yet, so best start them off in pots on the windowsill or greenhouse now, ready to plant out when the risk of frost is passed (which may be a while for us in the North East, but by end of May for everyone else….) Plant two to a small pot and make sure the lip of any beans you sow is pointing upwards – when you plant them out you’ll need enough to put two either side of each pole.
chamomile
I got a bit ambitious with my teepee floor, and it may not work, but I thought it would be lovely to have a soft cushion of scented chamomile (above) to sit on while you’re hiding in the teepee, so planted a couple of plants in the centre. You could try other creeping herbs such as thyme as well.

I didn’t think a toddler would be able to get much out of the actual making as it’s a bit fiddly for little fingers and you need to be able to reach fairly high, but my daughter loved adding her own kitchen, cooker, bedroom and the like made out of tiny sticks to the construction as we went along, muttering quite happily to herself – that was an added bonus! So why not dig out that inner child this weekend and make a teepee? You know you want to…